How to paint with Kalklitir
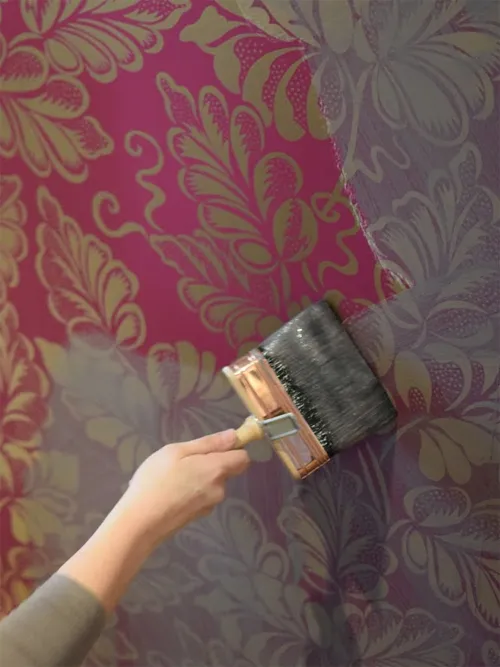
The lime paint Kalklitir can be painted directly on wallpaper, if the wallpaper is smooth and properly adhered. With two coats of paint, even the most colorful wallpaper is covered.
We completed a small mini-renovation in a house in Vasa. We repainted and of course, we chose to paint with Kalklitir.
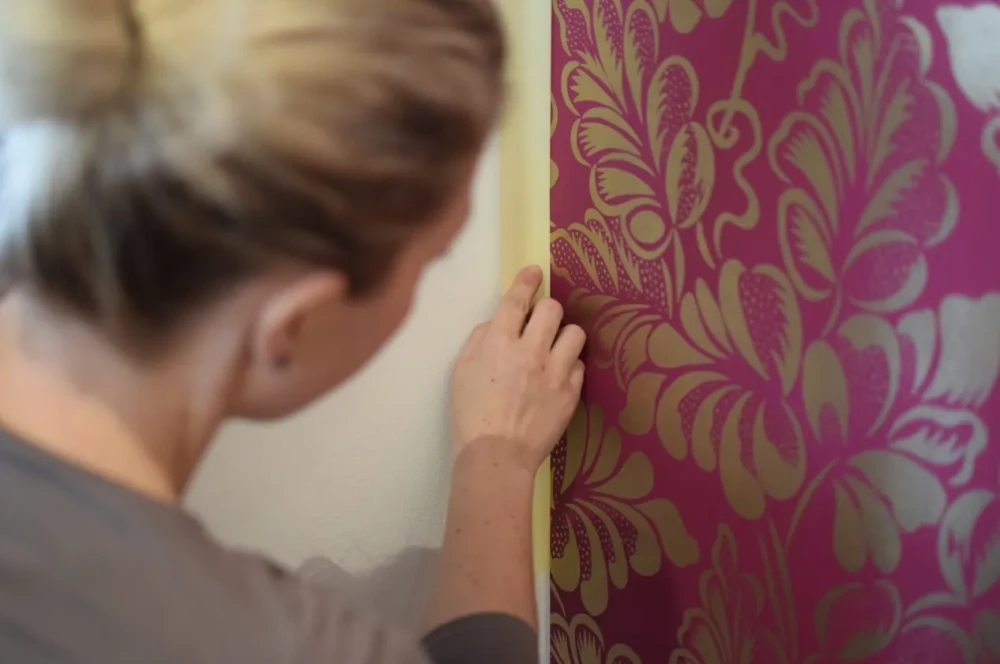
Previously, the wall in question was wallpapered with a very colorful and heavily patterned wallpaper in strong aniline pink and gold.
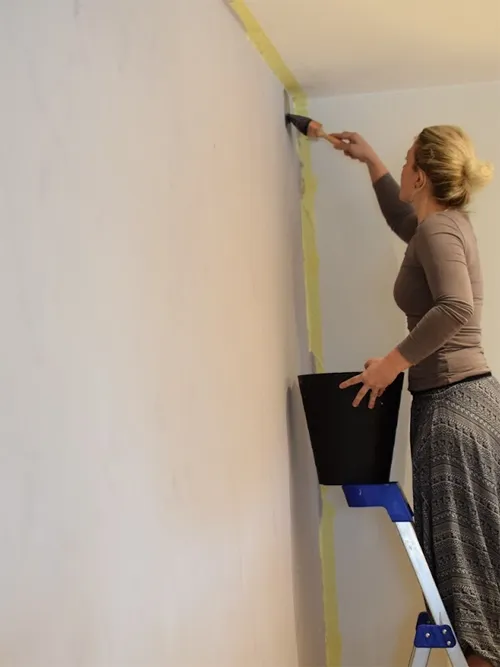
No preparatory work was needed since we chose to paint directly on the wallpaper in this case, only masking the edges. However, the result can vary depending on the type of wallpaper you have underneath. A textured wallpaper will not become smooth if you paint directly on it with Kalklitir; the texture will show through the paint. The same applies to fiberglass wallpapers. Kalklitir also does not adhere to a glossy vinyl wallpaper or glossy oil paint. In these cases, we recommend removing the wallpaper first or applying a primer before painting with Kalklitir. It's also worth remembering that the seams of the wallpaper can show through the paint if you don't sand and putty them down first. Kalklitir does not adhere directly to putty either, so you need to prime over the putty.
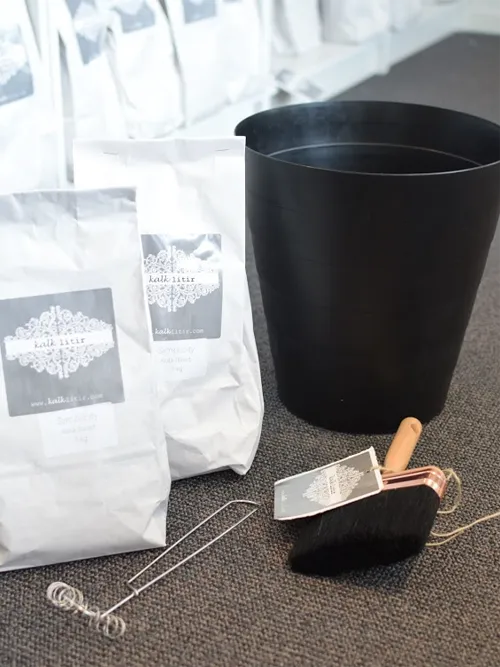
To paint with Kalklitir, you need the following:
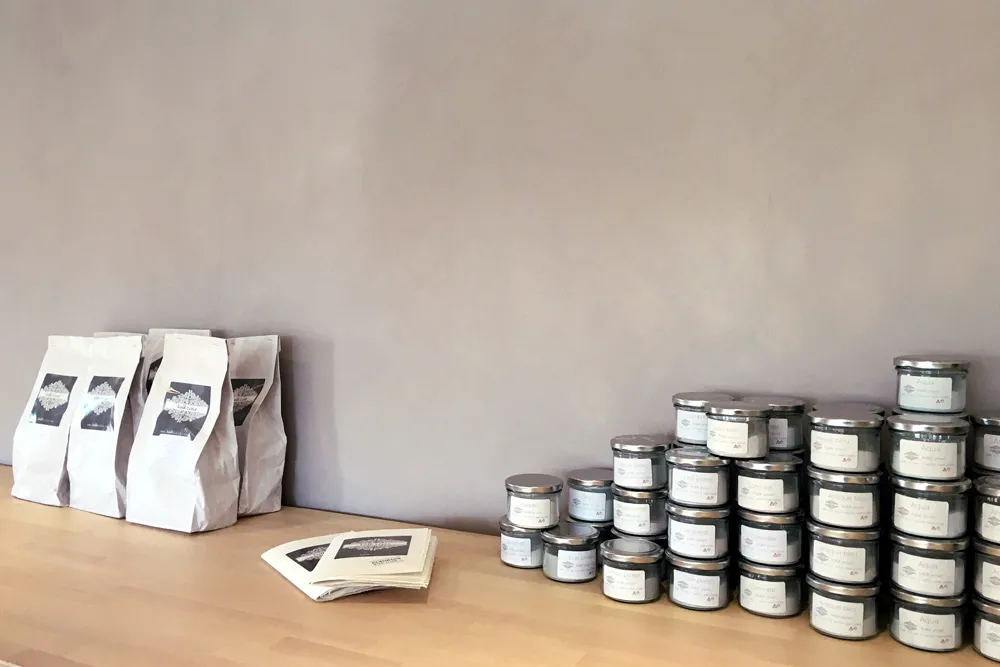
- Kalklitir powder (delivered in 1 kg bags that are enough for two coats and 6-10 square meters of surface), 1.7 liters of cold water (you can use a little less if you're painting on a surface that absorbs a lot, like an old log wall or plastered unpainted surface. If you have a very porous wallpaper underneath and don't want it to get too wet, you can also reduce the amount of water slightly.
- A whisk. A regular kitchen whisk works fine, even the hand-held version, no powerful tools are needed.
- A natural bristle brush intended for Kalklitir, which can be found HERE.
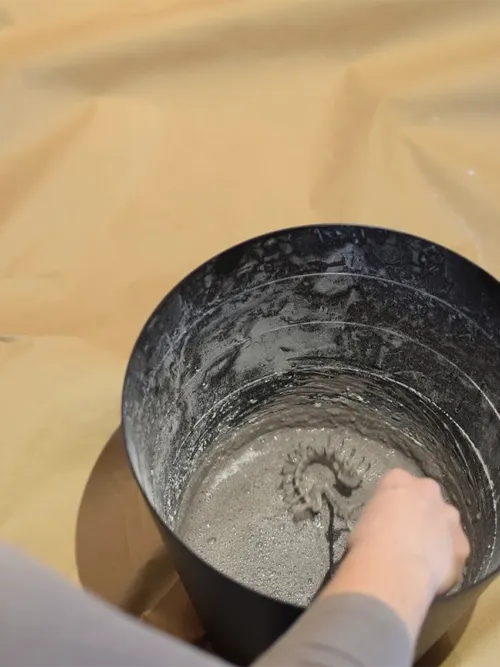
Whisk the powder into the water a little at a time.
Let it stand and whisk occasionally for about ten minutes. The final product will look like this. Like muddy water. Or very thin diluted fine cement. The shade will also be much darker than when the paint is dry, don't let this scare you.
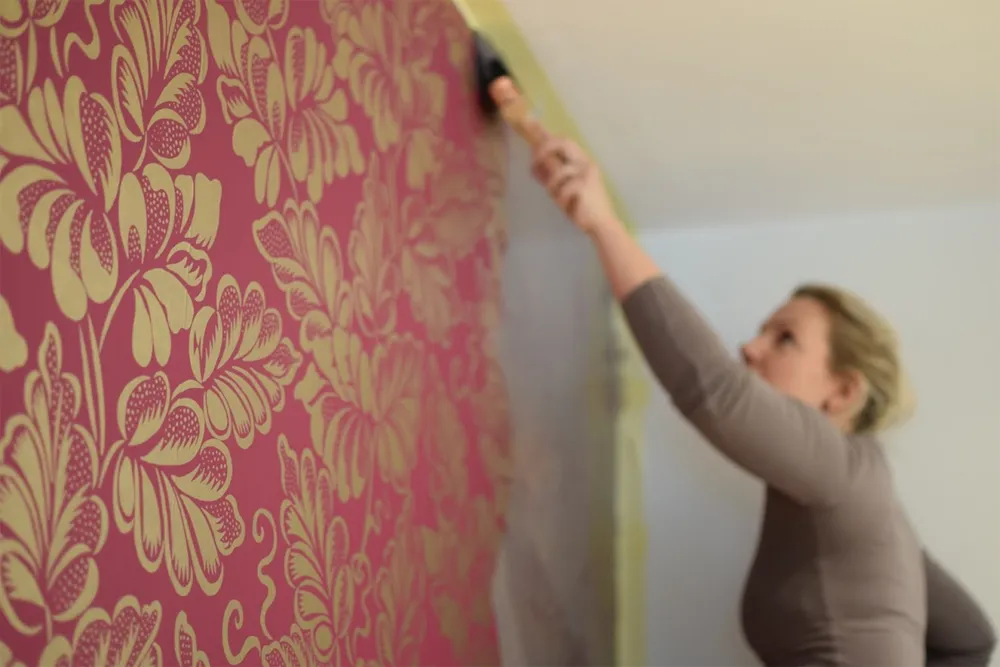
Depending on the technique you use to paint, you can achieve different final results. If you want a completely smooth surface, you can use a roller, but in our opinion, this partially defeats the purpose of choosing Kalklitir, which is to give a lively surface. Straight brush strokes up and down give a slightly streaky surface with vertical strokes. The X-strokes technique gives a softer impression that resembles a plastered wall.
The paint dries in front of your eyes as you work with it. At first, it gives the impression of not covering at all, but already within half an hour, the color develops as it dries and starts to cover. The important thing is that the paint edge should not dry out but remain wet. So, don't pause in the middle of the wall—it dries FAST, so you need to hurry to keep the edge wet. If you need a break, you should do it at the seam between different walls, not in the middle of a wall. Also, don't start painting from the top to the bottom of one section of the wall and then start from the top and work down again; if you do, the paint will form strips with lines between them like wallpaper.
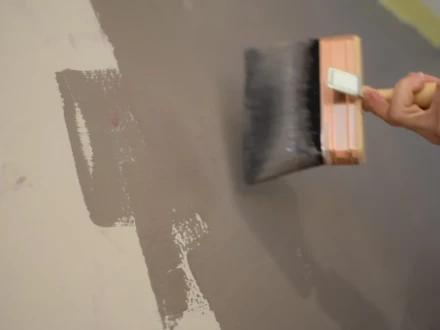
We chose the X-strokes technique for our wall. This is what the first coat looks like while the paint is wet, and the picture below is when the first coat has dried.
The first coat has dried about 1.5 hours later and already covers this well. The second coat goes on.
The final result after two coats of Kalklitir. We painted with the shade Simplicity, which is an elegant soft gray-lilac shade.
Good luck with your painting!